OK…I just haven’t been in the blogging mood as of late. So many other things on my mind and to do but today I am making myself sit down and write a few words about my Chanel jacket project. With a cup of coffee in hand and the Olympics on the TV please join me in my musing on my jacket.
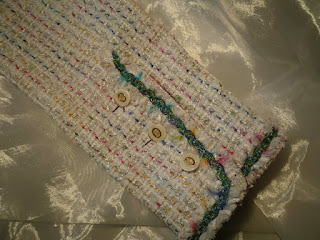
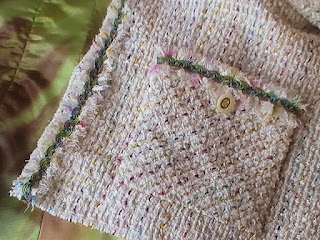
Over the past several weeks I have acquired the pattern and resource materials to begin this project. Along with this I purchased the fabric and have now found the lining and thread that I want to use to quilt the jacket with. I am going to think outside the box and add my own spin on my jacket. I found the perfect amber colored lining to go with the boucle that I had purchased from Gorgeous Fabrics and while cruising around Joann’s the other day I came across this great variegated quilting thread that I thought would look great against the lining color and add my own flair to the project by tying the colors of the boucle on the outside of the jacket to the inside lining of the jacket. Here are a few photos of the choices I made for the fabric, lining and thread.


I’ve also traced my pattern off and adjusted it for my measurements. Being 5’10” I have of course added 2” of length to the sleeves and shortened the body by one inch. I also adjusted for my bust, waist and hips. It took me a great deal of time adjusting the pattern. To accomplish this task I used “Pattern Fitting with Confidence” by Nancy Zieman. I have never used her pivot and slide method so thought I’d give it a try to see how it would work on me. Needless to say it took me a whole Saturday bent over my table making my tissue pattern and adjusting it. Here are a few pics.


On Sunday I took the opportunity to cut the new pattern out of my muslin. I’m using the Vogue 8369 jacket pattern which has princess seamed front and side front pieces along with back and side back pieces. The jacket has a two-piece vented sleeve. This pattern doesn't have a pocket option so I may add one to it. I'll play that one by ear and test it out first to see whether I would like it or not.l As I cut each piece out I took the time to mark a full vertical grainline and horizontal lines at the bust and waist along with the various required markings for the pattern with a Sharpie black marker. Here are a few photos of the unsewn muslin.
Front and Side Front Pieces
Center Back and Side Back Pieces
Two-Piece Vented Sleeves
This is where my enthusiasm waned because my plans for sewing this past week were interrupted by a visit from my DD and her boyfriend and this weekend we went north for the Winter Carnival in Saranac Lake and today…here I sit writing this post. I am hoping that after lunch I will gain enough momentum to get myself into the sewing room to begin constructing my muslin. Wish me luck for I am finding it extremely difficult to remove myself from the warmth of the fire!
For your enjoyment some Winter Carnival Ice Castle pics.
Instead of "Happy Trails..." I'll say "Happy Sewing to You...."


